Setting Up Your Account
Connect your Gmail account, configure your sender profile, and get ready to send your first outreach email.
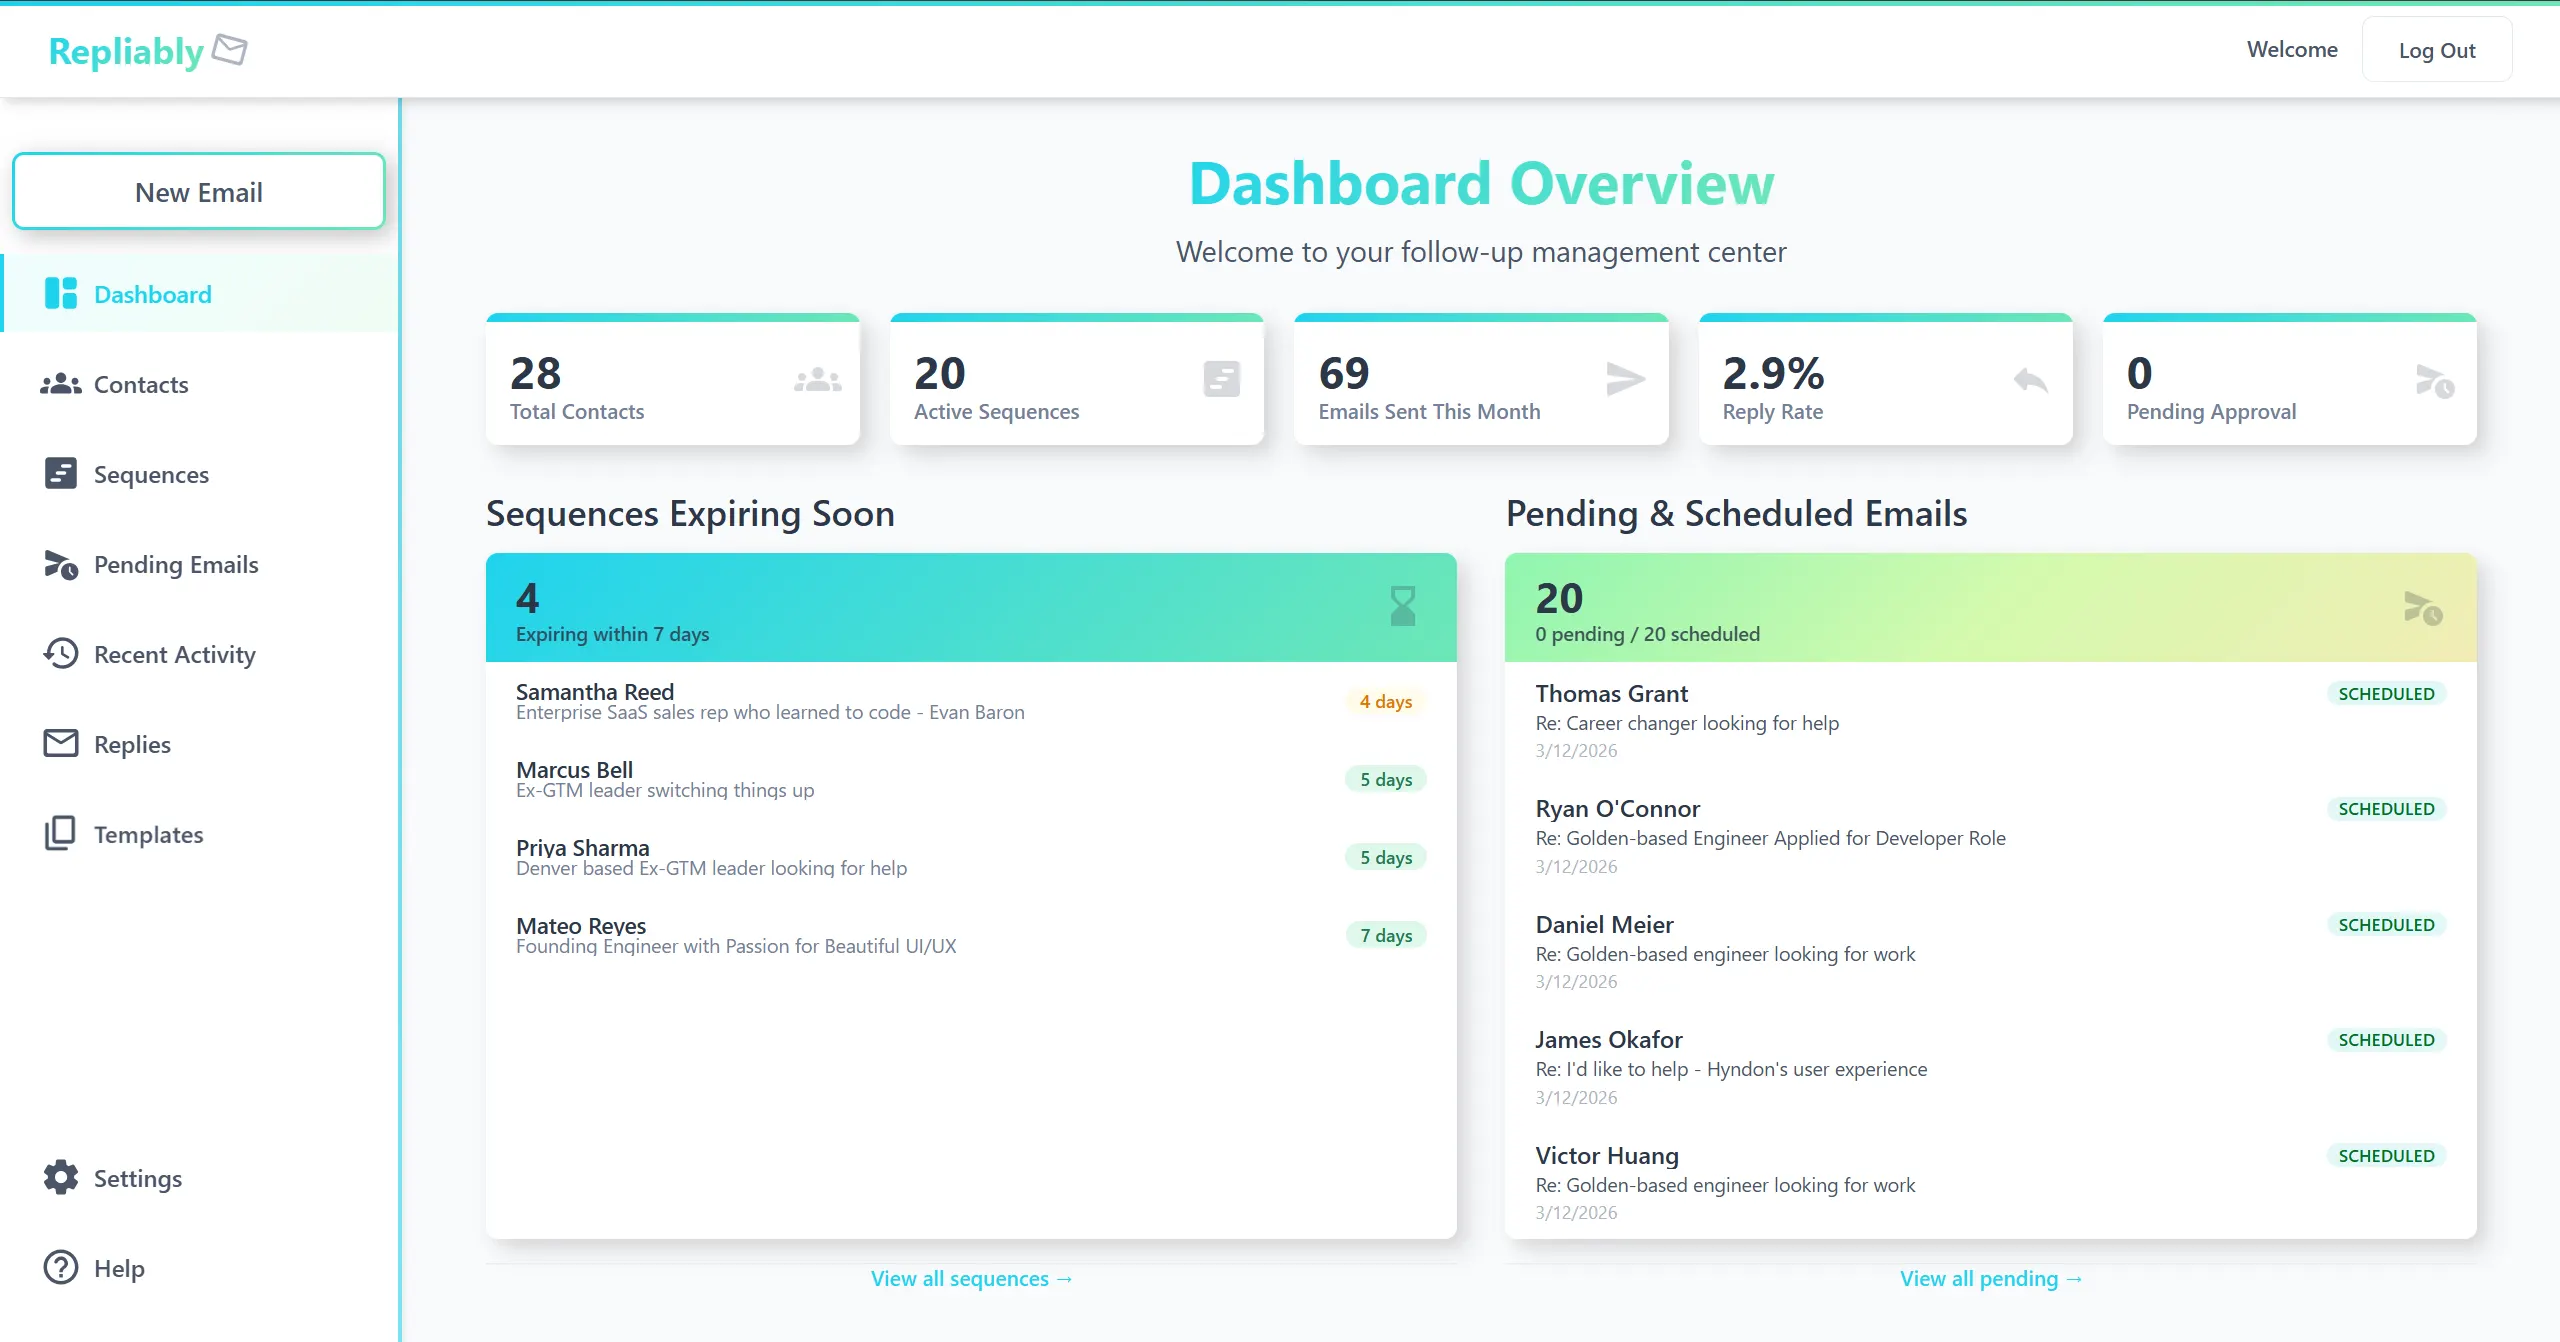
Getting started with Repliably takes just a few minutes. This guide walks you through connecting your Gmail account, setting up your sender profile, and configuring your account so you're ready to send your first outreach email.
Step 1: Create Your Account
Head to repliably.com and click "Get Started." You'll be prompted to sign up using your email address. After verifying your email, you'll be taken to the dashboard for the first time.
Step 2: Connect Your Gmail Account
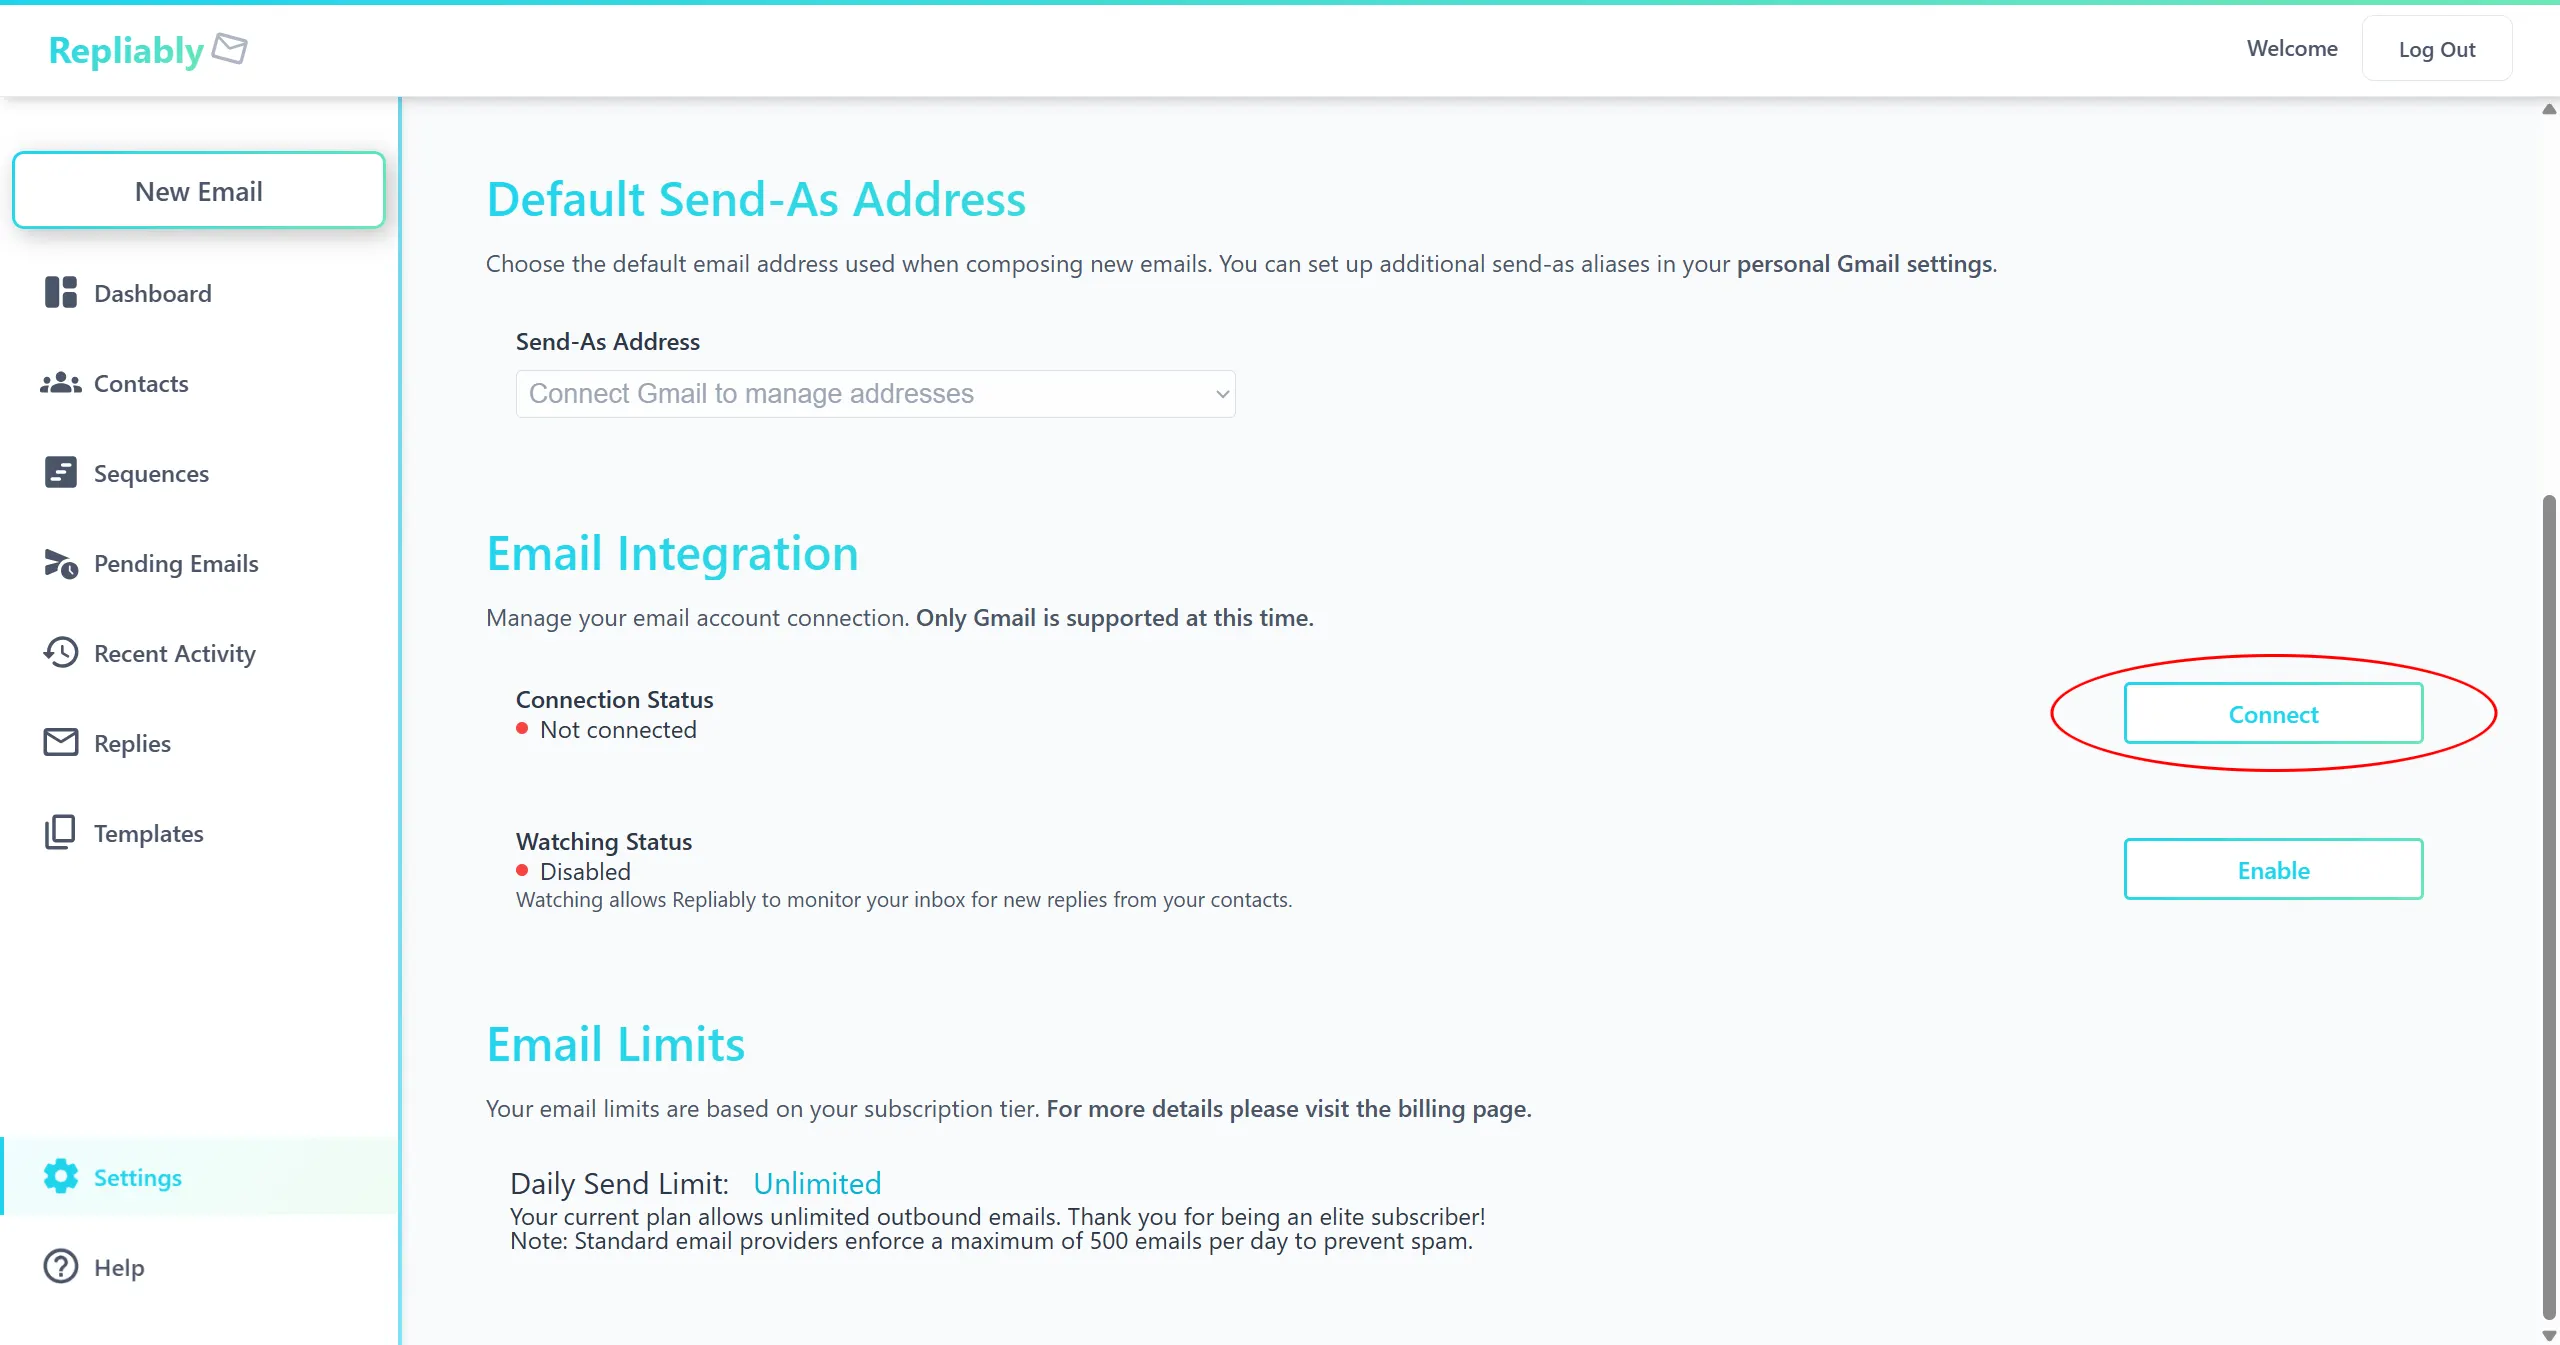
Repliably sends emails directly from your Gmail account, so your outreach looks and feels personal. To connect your account:
- Navigate to Settings from the sidebar.
- Click "Connect."
- Follow the Google OAuth prompts to grant Repliably permission to send emails on your behalf.
- Once connected, your Gmail address will appear as your verified sender.
Step 3: Enable Email Watching
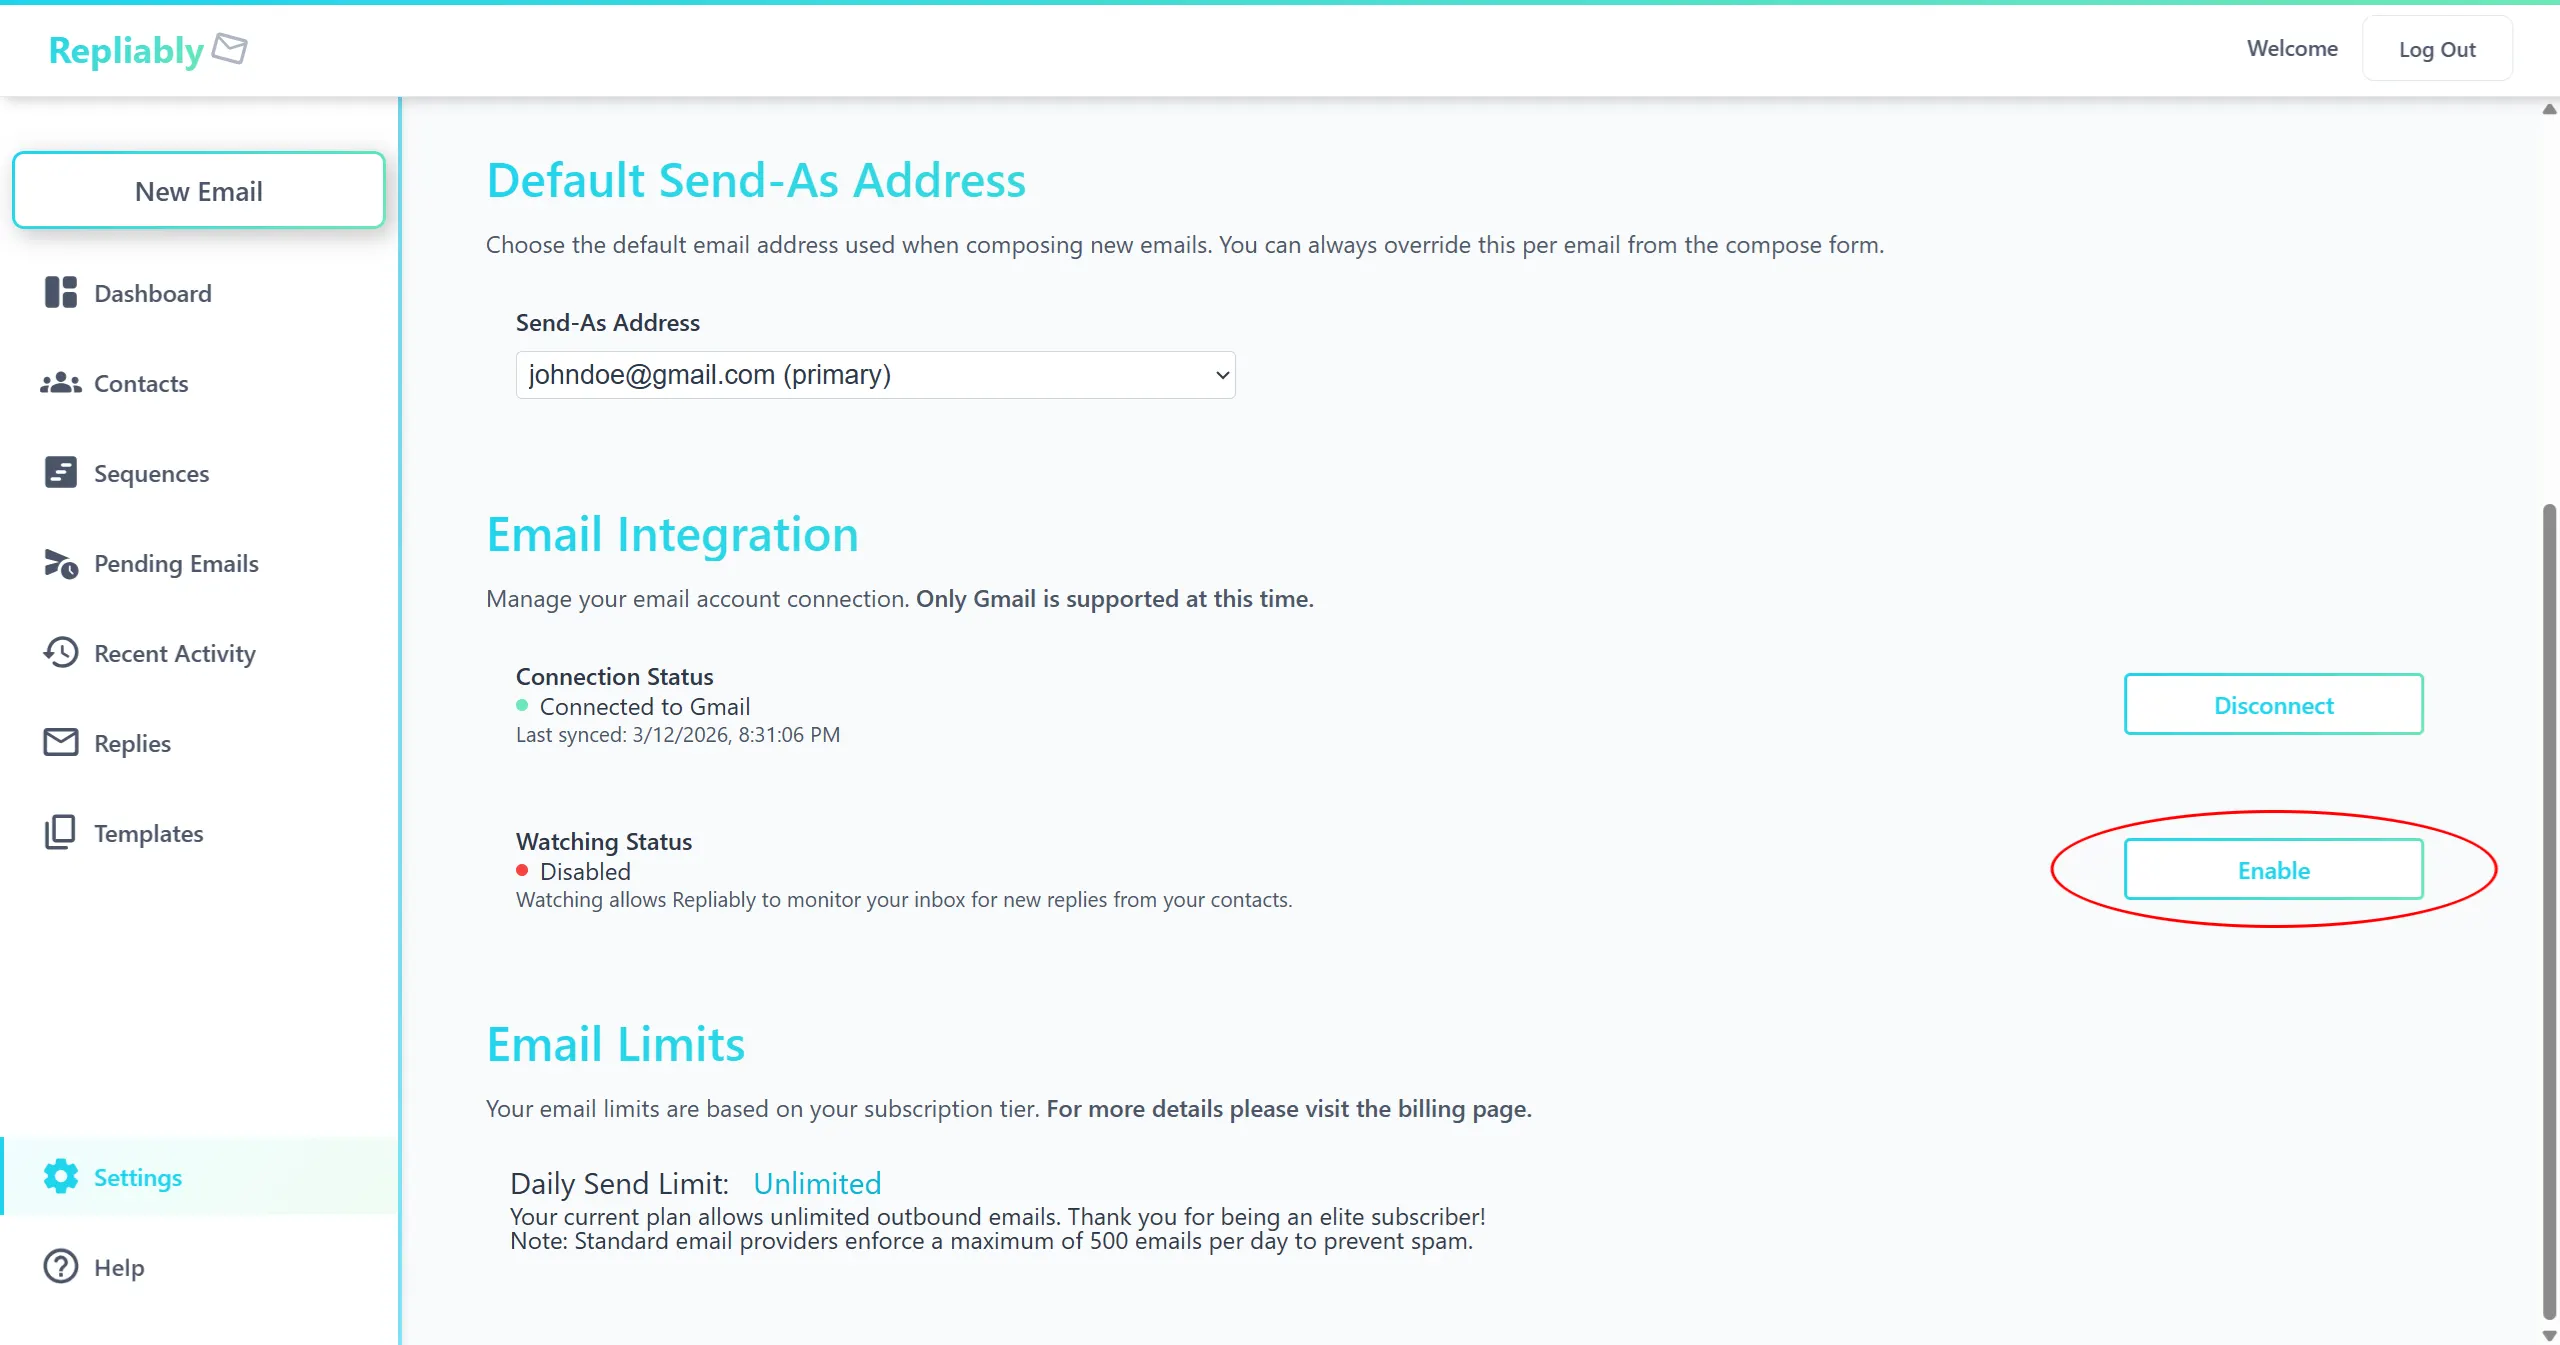
Once your Gmail is connected, you'll want to enable email watching. This allows Repliably to monitor incoming replies and bounces so it can automatically end sequences when a contact responds, so there's no manual work required.
- Go to Settings and find the Email Watching section.
- Click "Enable Watching" to activate reply and bounce detection.
- Once enabled, Repliably will listen for incoming messages related to emails you've sent through the platform.
Step 4: Choose Your Subscription Plan
Repliably offers several tiers to match your needs, from a free plan for getting started to Pro and Elite plans for high-volume outreach. Visit the Settings page to review available plans and select the one that fits your workflow.
You're All Set!
With your account created, Gmail connected, and sender profile configured, you're ready to start adding contacts and building your first email sequence.